In this article you will find information about:
- How to upload files via the portal
- Checking the upload queue
- Checking the status of the uploaded files on document hub
- Checking the document details and timeline view
How to upload files via the portal
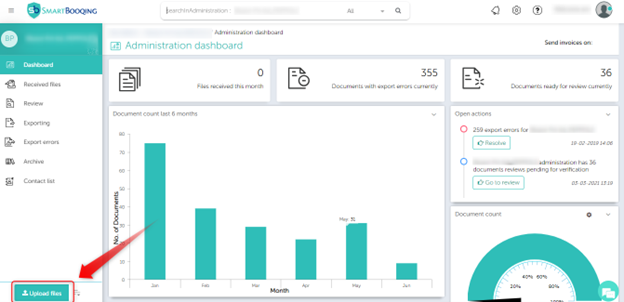
On the left-hand side of the options panel, you will find the “Upload Files” option button. A simple click on it will prompt a pop-up to browse the file. Choose the file and proceed with the upload.
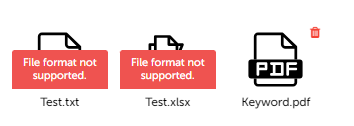
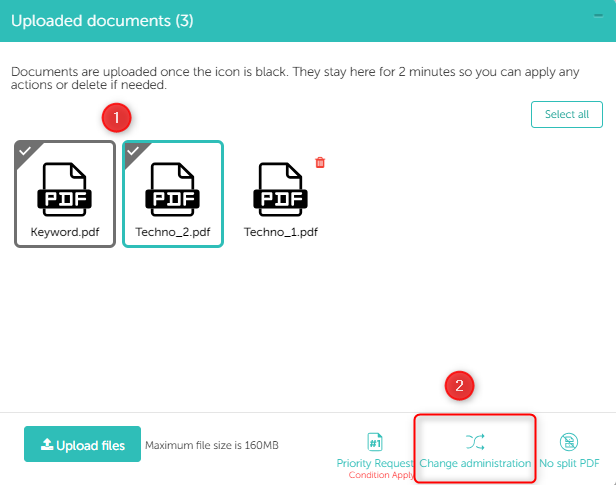
After uploading a single or multiple files, a pop-up will appear, displaying the ongoing upload progress. The upload status will be visible to you, explained as follows:
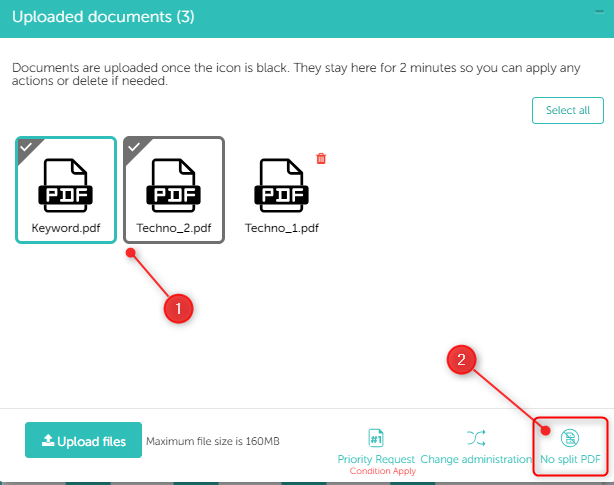
While uploading documents from the portal, you have the following three options, which you can use based on your requirements:
- Do not split PDF: the document will not get split while processing.
- Change Administration of documents.
- Assign for priority processing.
1. Apply no split pdf setting
To apply the “No Split PDF” setting to documents once they are in the upload queue, follow the steps below:
-
- Upload documents.
- Select the documents on which you wish to apply “no split PDF” settings.
- Click on “No split PDF” button.
- The “No split PDF” icon is displayed, if settings is been applied successfully.
- You will receive a notification indicating how many documents the “No Split PDF” setting has been successfully applied to.
Note:
- Be quick in applying “No split PDF” as they cannot be applied on document(s) once they are picked for processing.
- Additionally, you cannot select a document when the respective document’s upload status is in progress.
Undo applied ‘no split PDF settings
- Select the document(s) on which “no split settings” is applied.
- If you only select documents on which the “No Split PDF Settings” is applied, then the “No Split PDF” button is changed to the “Undo” button.
- Click on the “Undo” button.
- The “no split PDF” icon will disappear after the setting is successfully undone.

Note:
- If you select documents on which the “No Split PDF” settings are applied, as well as other documents on which the setting is not applied, the “Undo” button will not appear.
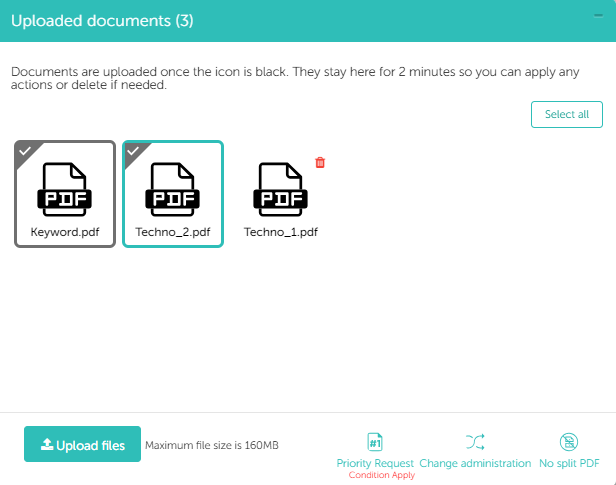
2. Move files from one Administration to another
To change the administration during manual upload from the portal:
- Select the administration.
- Click on the “Upload” button.
- Select documents you wish to upload and click on the “Ok” button.
- You can now click on the “Change administration” button to move these documents to another administration.
Click here to learn more about change administration.
3. Priority Processing
To mark documents for priority processing, follow the steps below:
- Upload documents.
- Select document you want to send for priority processing.
- Once you click on the Priority Request button, the request will be submitted.
- The support team will confirm the priority processing requests via email.

Checking the upload queue
After uploading the files, you will receive a pop-up window that displays all the uploaded files and the files in the queue. The pop-up window will appear as shown below, which you can minimize or close. At this stage, if you want to upload more files, you can simply drag and drop files onto this pop-up window.
Note: As per our latest release, uploaded files will now wait for 2 minutes, allowing users to take any desired actions such as priority request, no-split setting, change admin, or delete the files.
Click on the “Upload files” button to upload additional files.
Note: The maximum supported size is 160 MB.
Checking the status of the uploaded files in the document hub
Once the files are uploaded, you can check the status in the “Received Files” tab (Login → Select Admin → Received Files).
In the Received Files section, you can customize the visibility of columns according to your preference. Utilize the buttons outlined with red lines in the screen below to apply column filters.

From the above image, you can check the status of the uploaded file in the “Status” column.
Note: If you have mistakenly uploaded a document, you cannot delete it from the review page. For deletion, please contact support@smartbooqing.com.
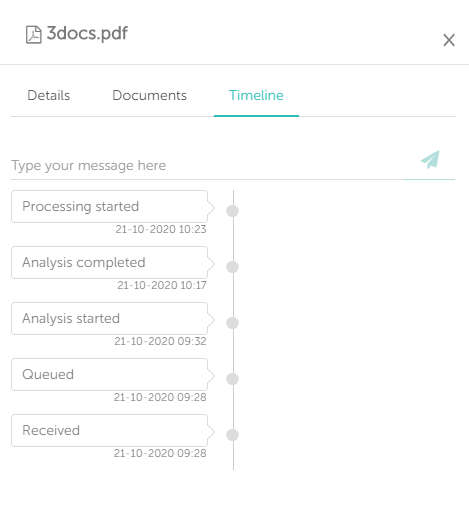
Checking the document details and timeline view
Here we will show you can get more details about your documents which are uploaded to Smartbooqing.
From the image below, you can locate the PDF icon on the far left-hand side. Upon clicking the icon, a small pop-up window will appear on the right-hand side of the screen. If you click on “Details” within the pop-up, you will be able to see the status of that file.
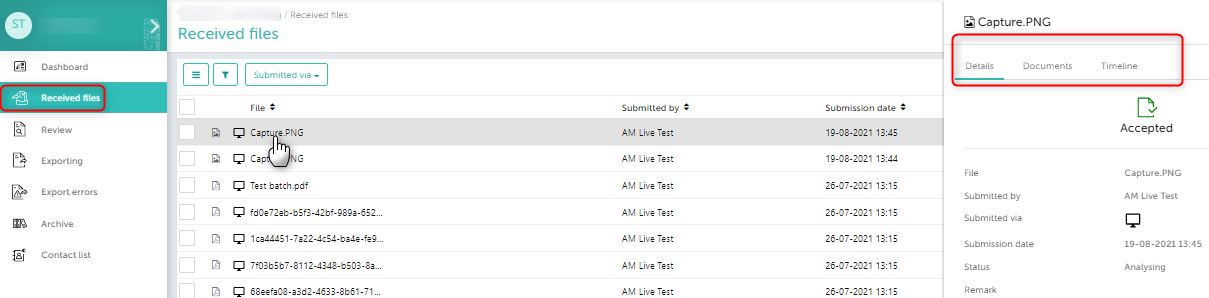
In the same pop-up window, you will find two more tabs as shown below:
- Documents: This tab will display brief details for all the documents received in one particular file. Covered details include the type of invoice, status of the invoice, invoice number, invoice date, amount, etc.

- Timeline: In this section, you will find timely updates for the uploaded file. It provides details on how the invoice was processed.