In this article you will find information about:
1. Prerequisites:
What you need to be ready with?
While using the Exact Online system you need to have the credentials (user name and password).
Any additional settings/apps/plug-ins will be given by Smartbooqing?
Not needed.
2. Introduction:
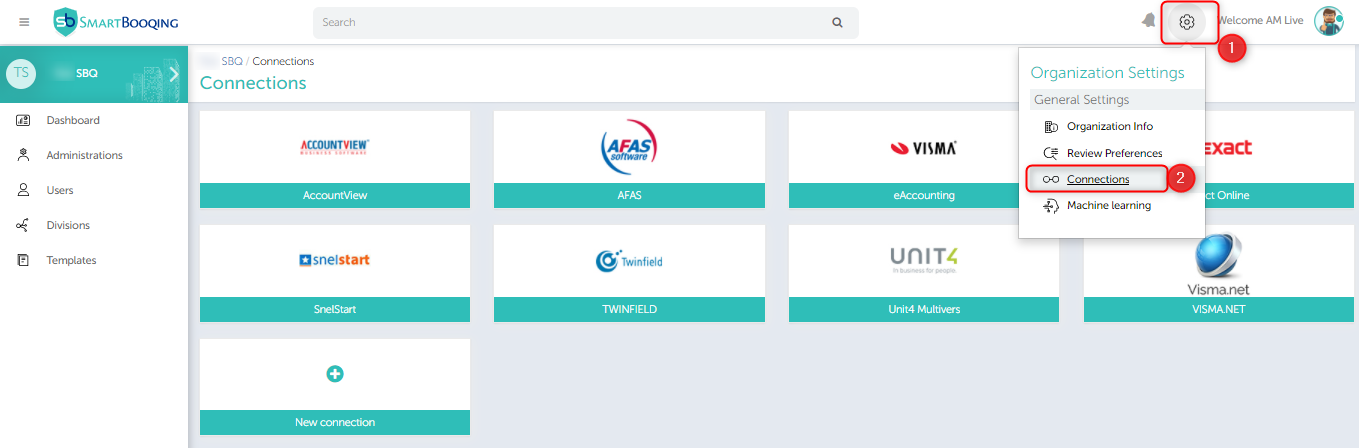
To create/add a new connection from Smartbooqing using any of the accounting system, you need to login to Smartbooqing and then go to the ‘Organisation’, in the organisation menu you will find the ‘Connections’ tab, as shown below-
3. Importing administrations from Exact Online-
Add connection:
To import the administrations from the Exact Online, see if connection is available or else simply click on the ‘+New connection’ tab and then choose Exact Online.
Add administration:
Once you select the accounting system. You land on the below page, click on ‘+ Import Administration’.
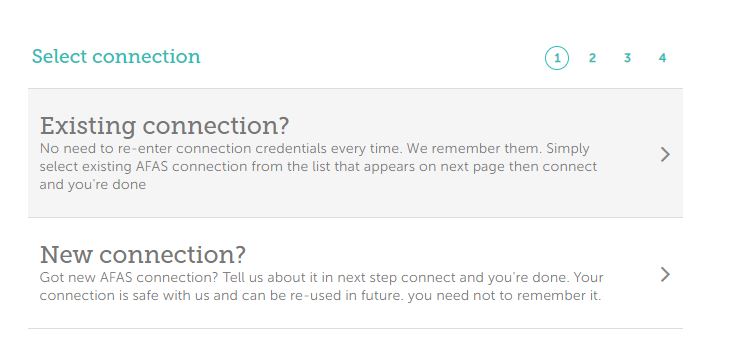
Step 1:
While importing the administrations from Exact Online you can select the accounting system as Exact Online and then choose the option to import either from ‘Existing connection’or ‘New connection’.
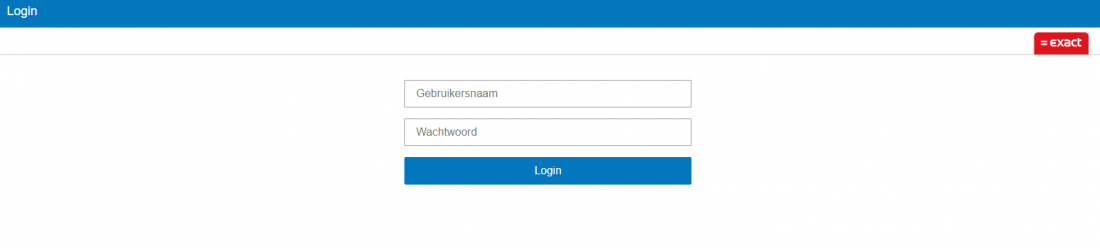
Step 2:
For new / existing connection once you select the accounting system as Exact Online, then you will be redirected to the login page of Exact Online-
Step 3:
Once you’ve entered the login details, you will be redirected back to the Smartbooqing portal where you can choose the administrations to import as shown in the below screen.
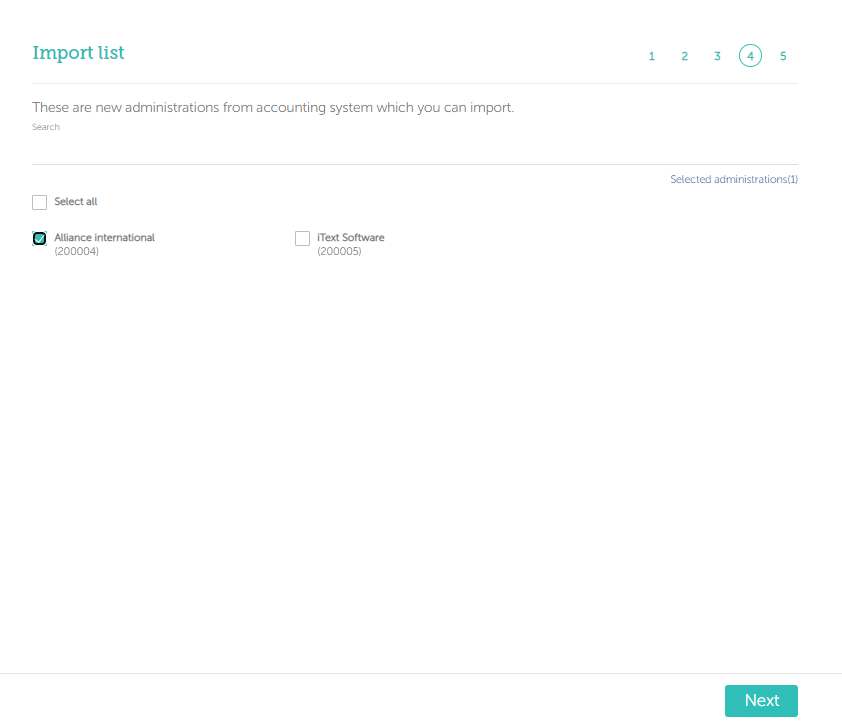
By selecting the administrations as shown in the above screen you can click on the ‘Next’.
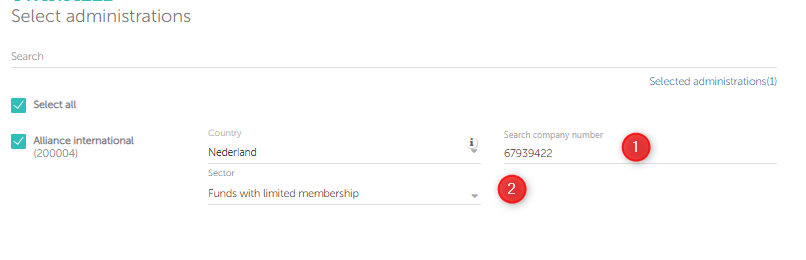
Step 4:
- On click of next you will be able to see the below screen and you are required to enter the COC number or sector.
- If you don’t have the COC then you are required to give the reason for not having the COC (you can select ‘Not a company or test/Demo) and select Sector.
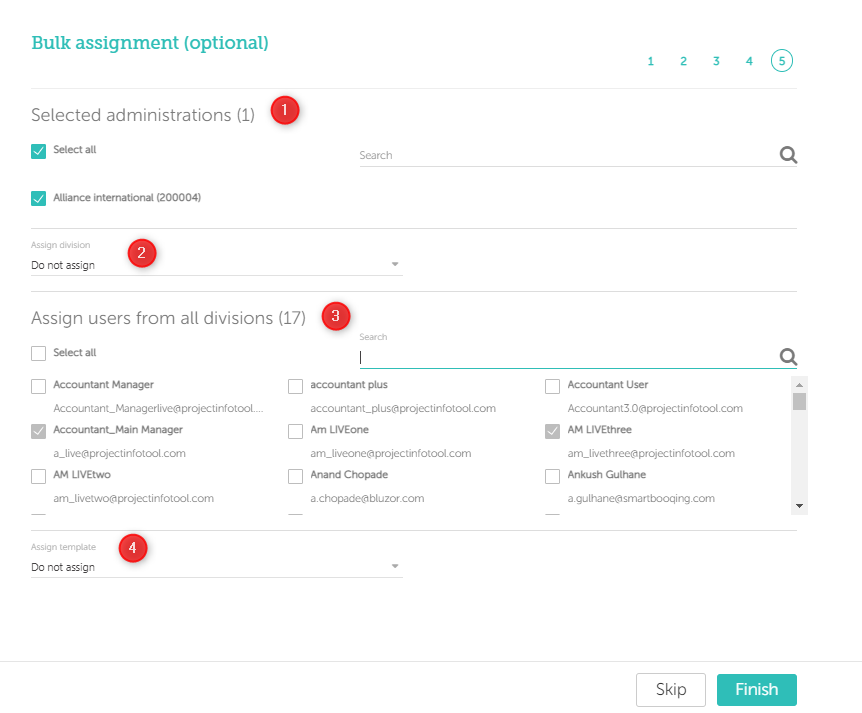
Step 5:
- Next screen is bulk assignment where you can assign your administrations to Users, Templates, or Divisions.
- Steps:
- Select administrations (By default all are selected)
- Assign Division
- Assign users:
- By default, all the newly added administrations are assigned to all ‘Administrators’.
- Assign template
- This step is not mandatory, can be skipped.
- Once done; you will be notified with below image.
.