In this article you will find information about:
- Prerequisites
- Introduction
- Importing administrations from AccountView
- Editing the location for AccountView
- Importing/adding more administrations to any of the location
1. Prerequisites
What you need to have?
- AccountView:
- Licensed copy of DOT.Net back-office (this can be procured from AccountView, in case you do not have this
- Provide specific users and rights
- Supervisor role to accounting user
- System User should have administrative privileges with read/write, rights to the accounting server folder and its sub-folders
- System user of client’s computer needs to have rights to install/remove Smartbooqing application and credentials
- Provide firewall access to following URLs
What will be provided by Smartbooqing?
- Smartbooqing communicate service application
- Smartbooqing SSL certificate
- Password will be provided
2. Introduction:
To create/add a new connection from Smartbooqing, you need to login to the Smartbooqing and then go to the ‘Organization;, in the organization menu you will find the ‘Connections’ tab, as shown below.
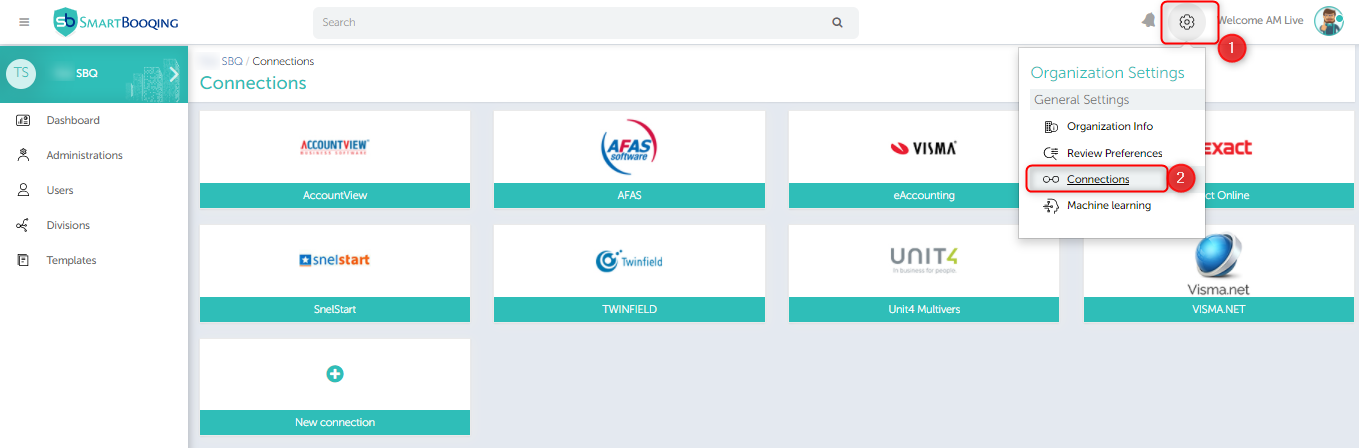
To import the administrations from the AccountView, you can select that option if available or simply click on the ‘+New connection’ tab and then choose the desired accounting system.
3. Importing administrations from AccountView:
In order to import the administrations from AccountView, you can click on the ‘+Import administration’ button as shown in the above screen and then choose the desired option-
- Existing connection
- New connection
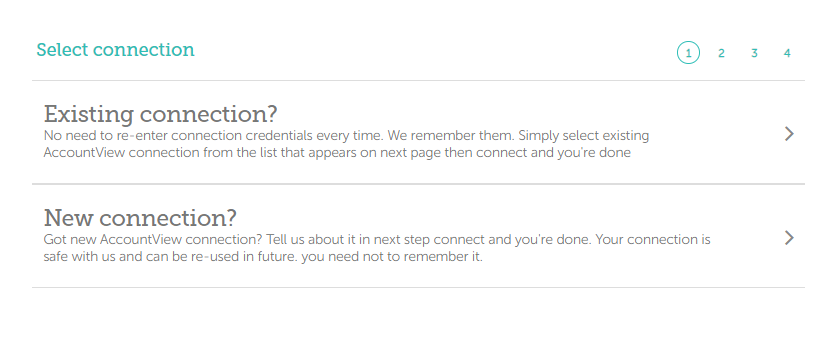
3. i. If existing connection:
Step 1:
If the connection is existing then, you can select this option and then choose the location from dropdown.
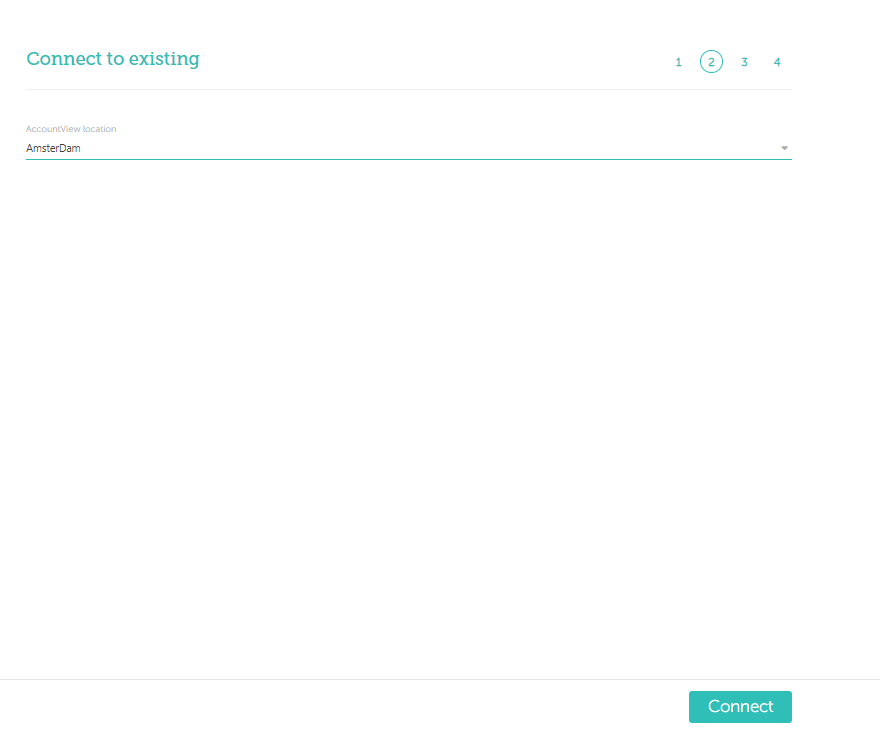
Step 2:
Once the location is selected then you can select any of the administration by simply selecting them or typing the name. With this you’re all set to import the desired administrations from the accounting system.
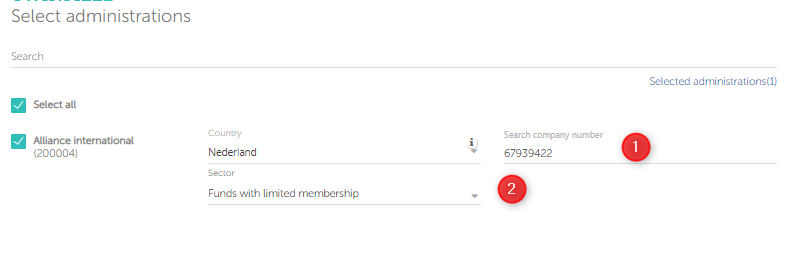
Step 3:
- On click of next you will be able to see the below screen and you are required to enter the COC number or sector.
- If you don’t have the COC then you are required to give the reason for not having the COC (you can select ‘Not a company or test/Demo) and select Sector.
Step 4:
- Next screen is bulk assignment where you can assign your administrations to Users, Templates, or Divisions.
- Steps:
- Select administrations (By default all are selected)
- Assign Division
- Assign users:
- By default, all the newly added administrations are assigned to all ‘Administrators’.
- Assign template
- This step is not mandatory, can be skipped.

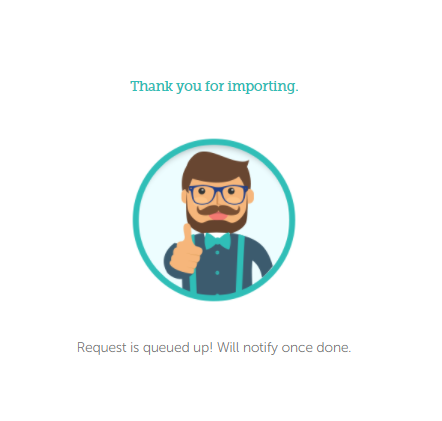
- Once done; you will be notified with below image.
3. ii. If new connection-
Step 1:
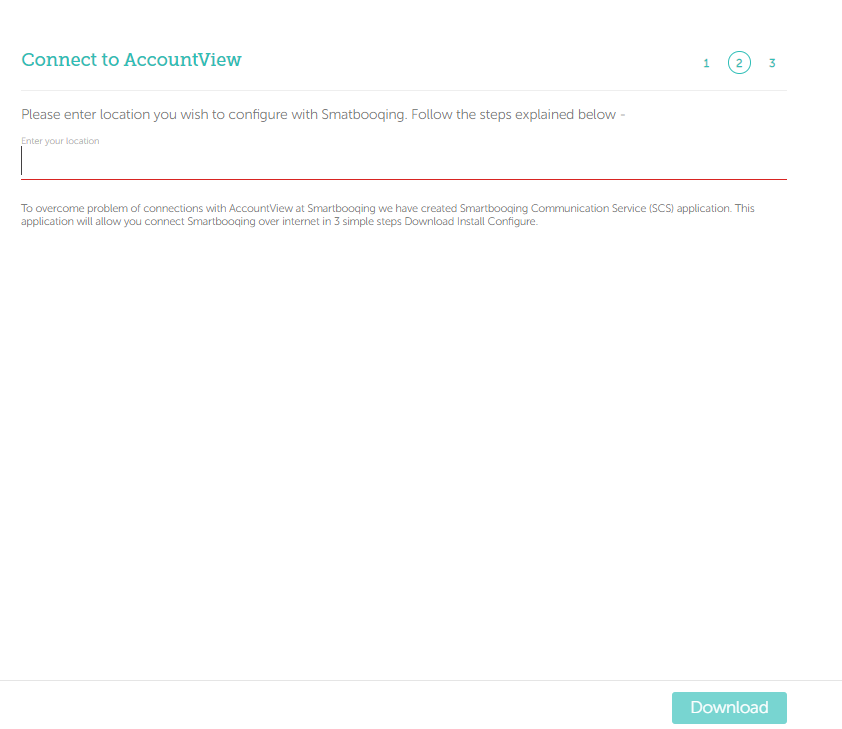
If you have a new connection for accounting system i.e AccountView then, click on the ‘New connection’ and enter the location first and click ‘Download’ as shown below-
Step 2:
After this, you’ll get the screen for two instructions to install and configure the AccountView system.
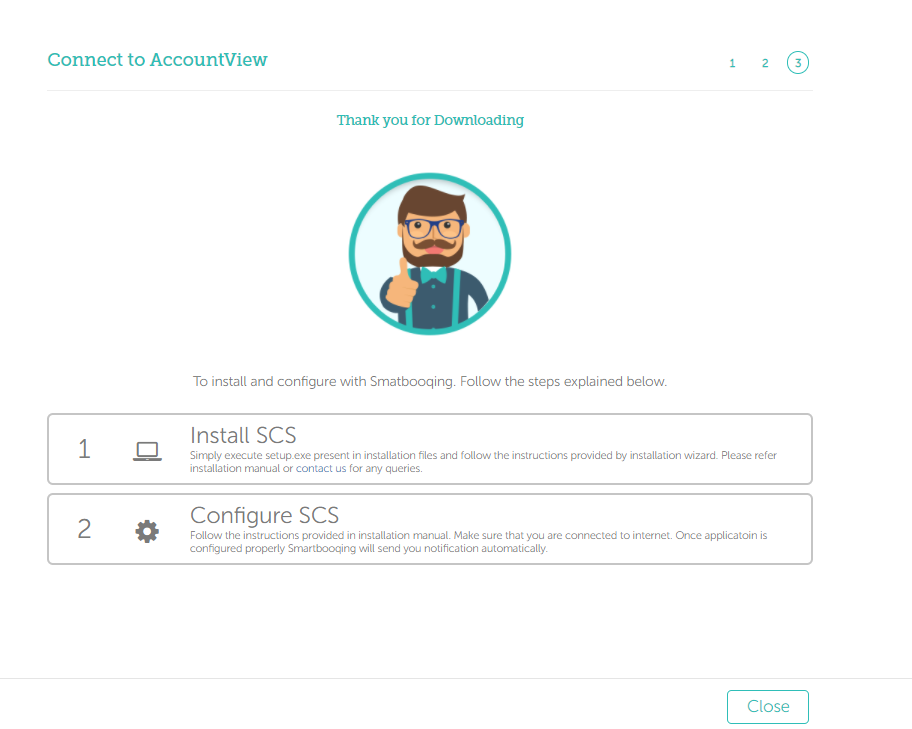
Step 3:
Once you’ve downloaded this from above screen you will get the installation guide and the installation file, please refer to this material for further help.
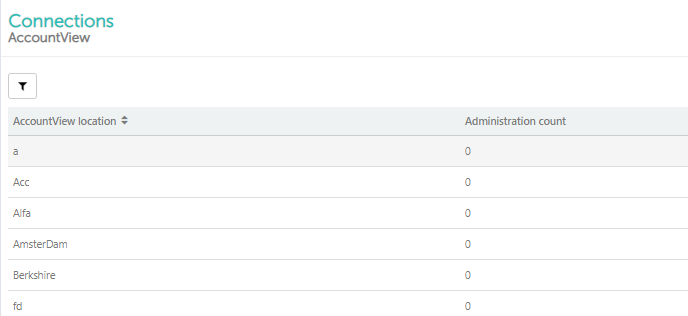
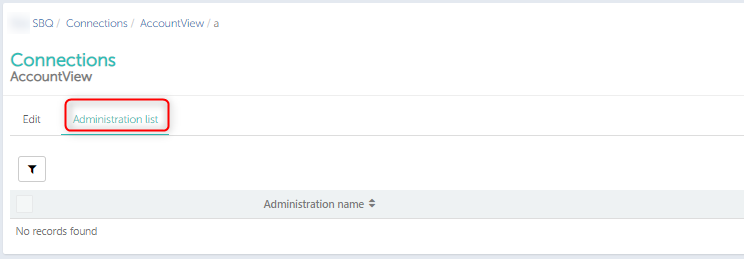
4. Editing the Location for AccountView:
Step 1:
From the above list you can click on any of the location and go into the edit mode for that location, as shown below-
Step 2:
As shown in the above screen you can edit the location name.
5. Importing/adding more administrations to any of the location:
Step 1:
As shown in the below screen, you can synchronize the administrations if there are any newly added administrations in that location.
Step 2:
In this accounting system all of the administrations are categorized and managed as per the financial year (which is the structure of AccountView). Such kind of administrations with its name will be visible in the option ‘Financial year’ as in the above screen.