The Smartbooqing app is currently in the development and publishing stage. Integration with Microsoft Dynamics Business Central needs to be done manually. The steps for onboarding and integration are described below.
Integrate with Smartbooqing –
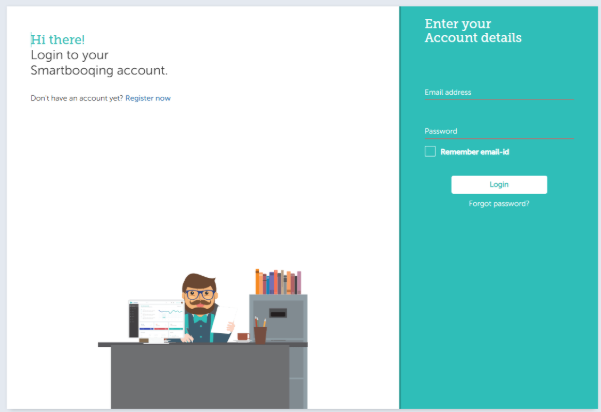
- Login to Smartbooqing.com
- Click on Organization Settings
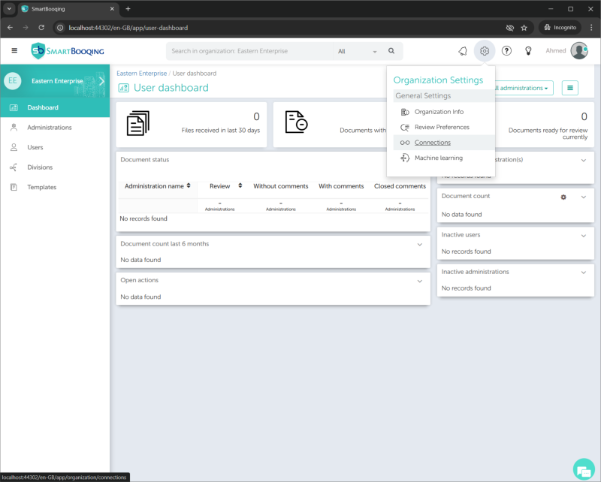
- Click on Connections
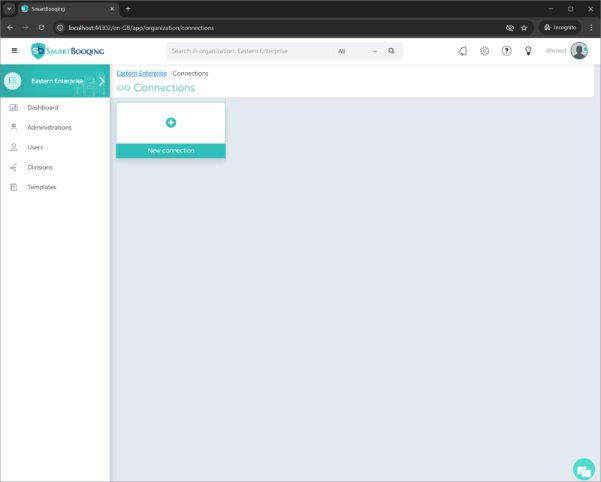
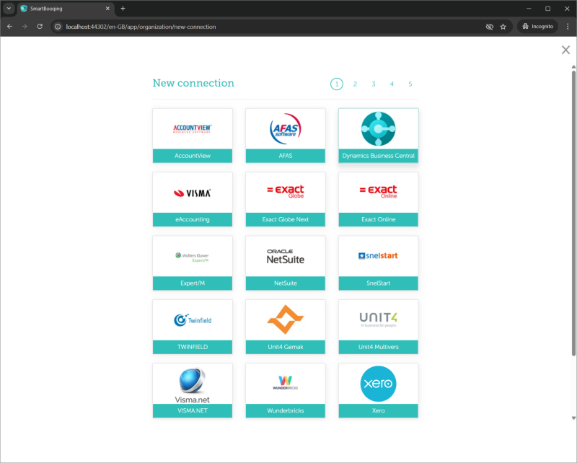
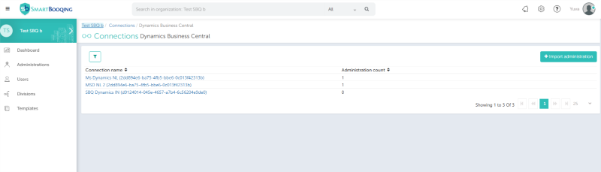
- Click on Dynamics Business Central
- Click on Import Administrations
- Click on new connection
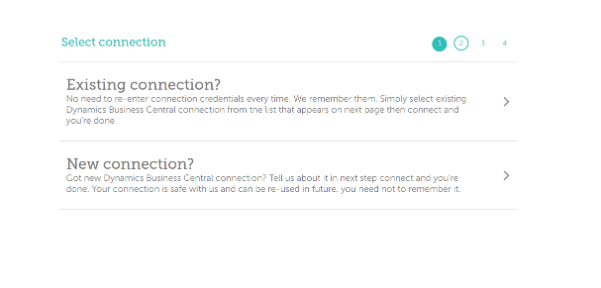
Enter the following details:
- Connection name (Preferred name)
- Tenant ID
- Environment (will always be Production)
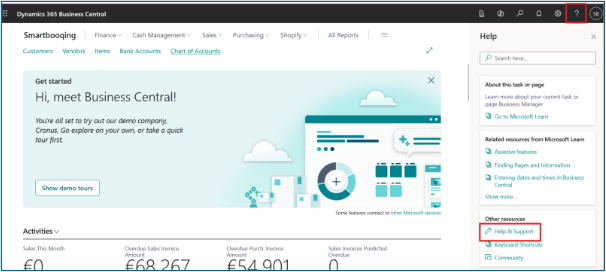
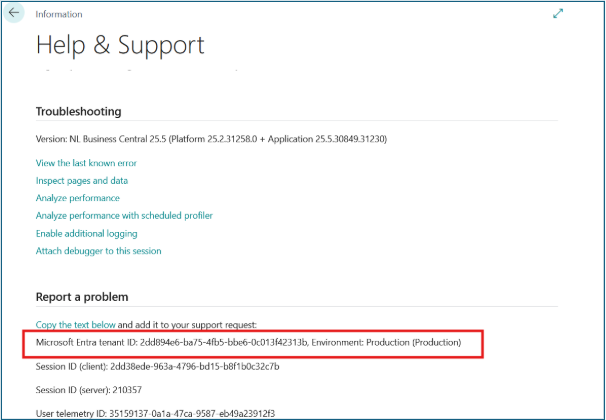
How to find the Tenant ID?
Tenant ID is required for the integration URL.
Once the details are filled –
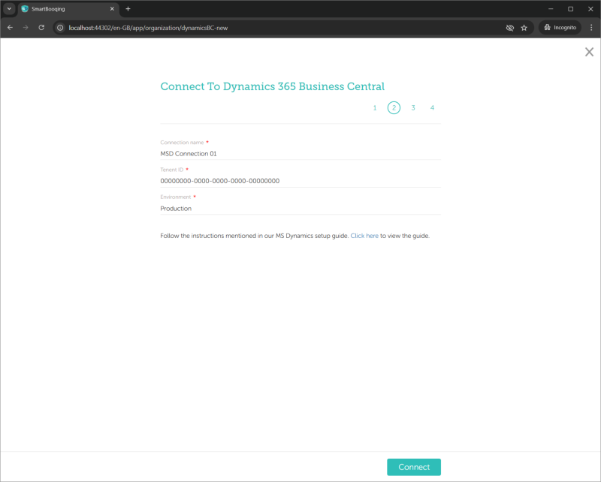
- Click Connect.
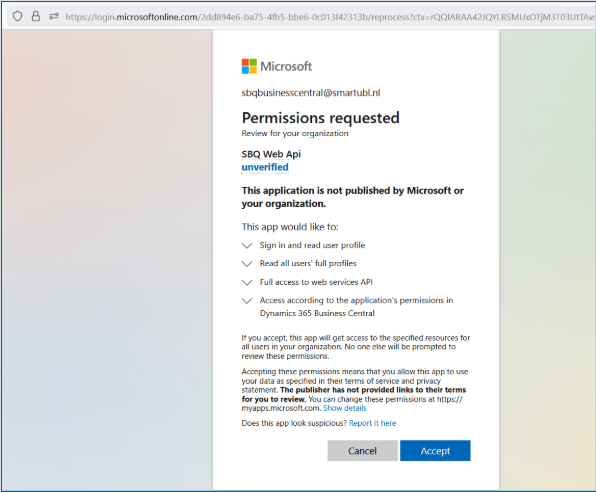
- Microsoft will show a consent screen asking you to grant permissions to Smartbooqing. Make sure you have Admin right to grant permissions.
- Grant Consent.
- Click Accept to authorize the application.
- After successful consent and authorization, you will be redirected to the Smartbooqing portal.
- Successful redirection back to Smartbooqing confirms that the app is verified and permissions are correctly set, user will get redirected to Import list page automatically.
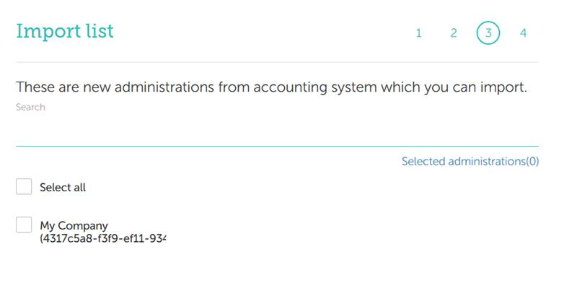
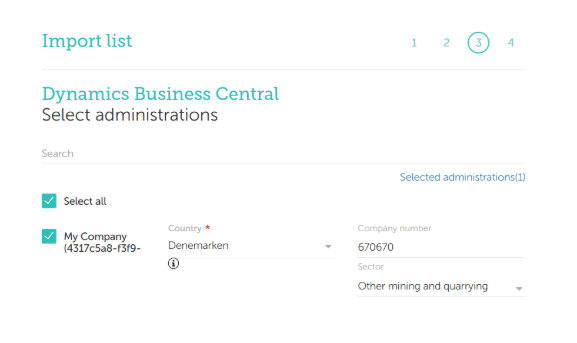
- Click Import.
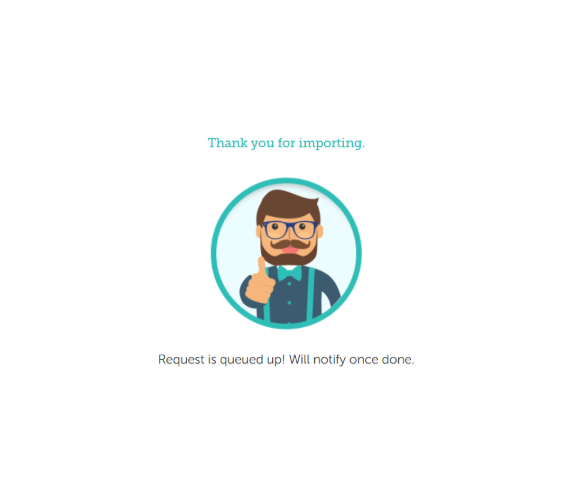
- An import successful screen will be displayed.
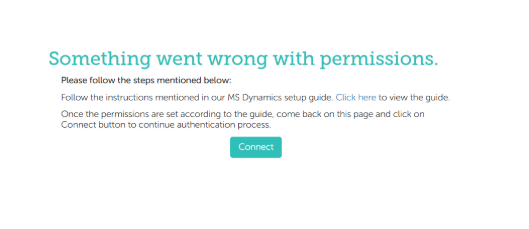
If the connection is not successful, the user will get an error. Please click on the guide to follow the suggested steps on the screen for successful connection.
Provide Permission for App in Business Central:
- Go to Business Central Portal, click on search button and type ENTRA
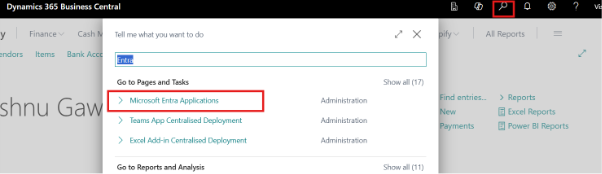
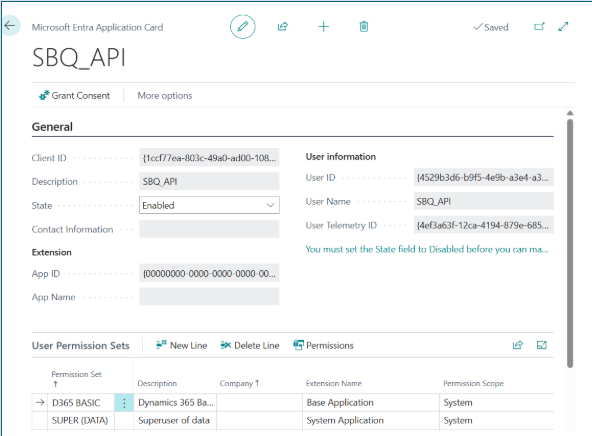
- Create a new application using Client ID: 1ccf77ea-803c-49a0-ad00-108b63fc2d87

- Assign Permissions: SUPER (Data) & D365 Basic
Installation SmartBooqing Business Central Extension:
To enable Smartbooqing app files inside Microsoft Dynamic Business Central .
How to Add SmartBooqing Extension for Specific Entity :
- Navigate to Web Central -> Search “Extension Management“.
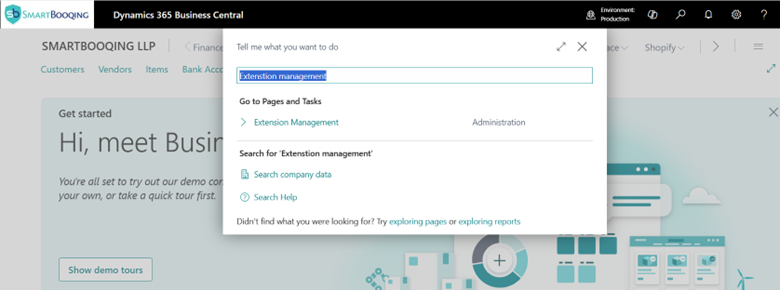
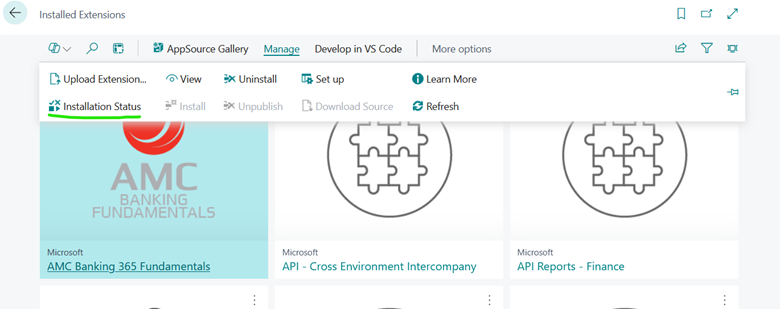
- Click on Manage under Installed Extensions.
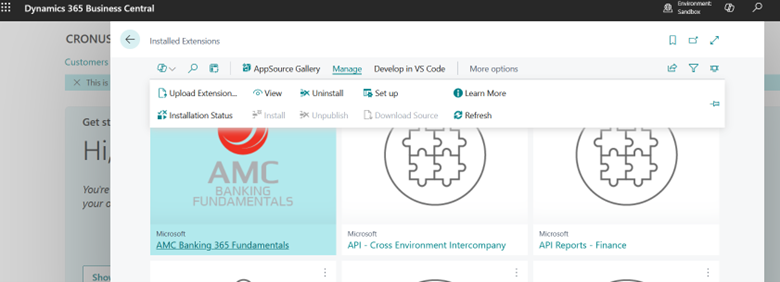
- Click on Upload Extension under Manage.
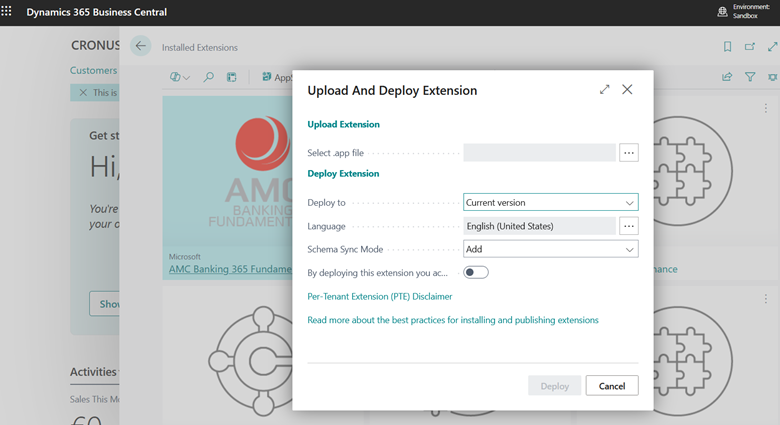
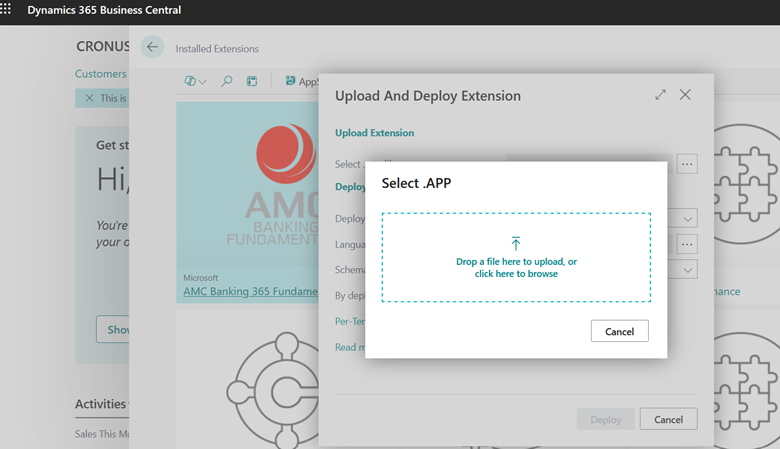
- In the Select .app file , click on “ …” dots . Select .app upload pop-up opens. Click on the upload icon/Click Here . Select the app file which needs to be installed.
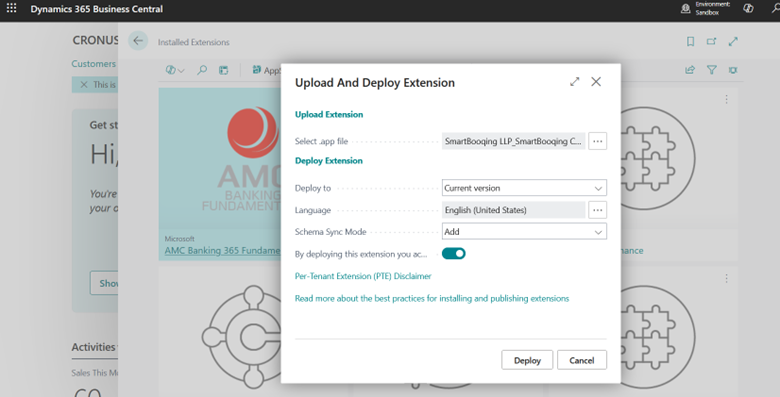
- Once file is uploaded . Click on Deploy button .Here Toggle button should be switched ON for deploying which mentions “By deploying this extension you acknowledge that your data may be sent outside the compliance boundary of Business Central. Each per-tenant extension is subject to its own third party terms and conditions and privacy policies.”.app file name – SmartBooqing LLP_SmartBooqing Connecter_1.0.0.1.app
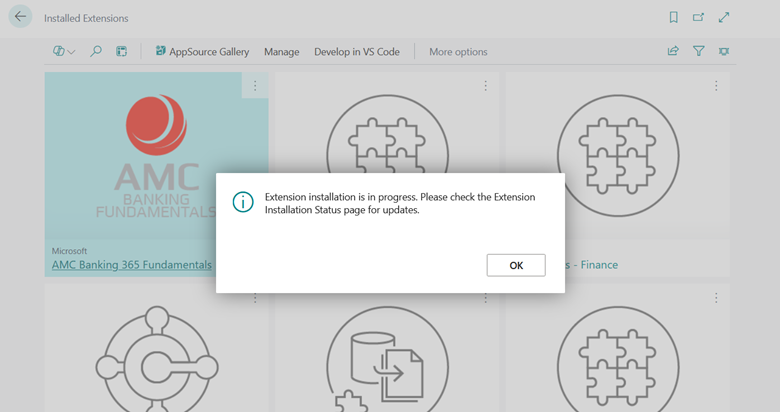
- While app file is being deployed this is pop-up we can see when installation is in progress . Click on OK to close the pop-up.
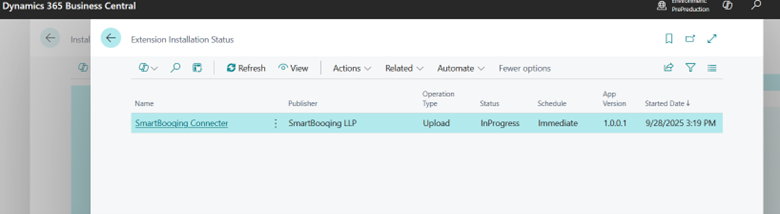
- In Order to check the status of the deployed app file . Click on Installation Status under Manage.
- When app file is completely deployed . The status will be updated from InProgress to Completed.
Entities to be Exposed :
| Type | Object ID | Object name | Service Name |
| Page | 50112 | Purchase Line API | PurchaseInvoiceLines |
| Page | 50114 | Purchase Header API | PurchaseInvoices
|
To get the .app file , please Contact our Support Team at support@smartbooqing.com
Provide web service permission:
To enable Smartbooqing to interact with Microsoft Dynamics Business Central, specific entities must be exposed as web services.
How to Add Web Service Permission for a Specific Entity:
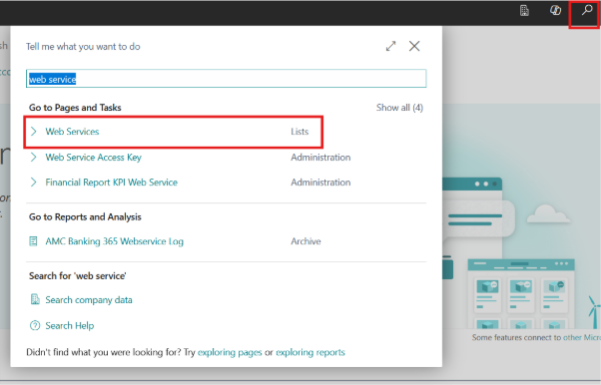
- Navigate to Business Central → Web Services
- Click on + New to add a new web service row.

- In the Object Type column, select Page or Query (based on the entity).
- In the Object ID column, enter the respective ID (see table below).
- In the Service Name column, provide a logical name (as suggested below).
- Ensure “Published” is checked for each entry.
Entities to Be Exposed:
| Page | 425 | Vendor Bank Account | VendorBankAccounts |
| Page | 26 | Vendor Card | VendorCard |
| Page | 21 | Creditor Card | CreditorCard |
| Page | 472 | VAT Posting Setup | VATPostingSetup |
| Page | 52 | Purchase Credit Memo | PurchaseCreditMemo |
| Page | 77 | Resources | Resources |
| Page | 2673 | Allocation Accounts | AllocationAccounts |
| Page | 5800 | Item Charges | ItemCharges |
| Page | 8 | Comments | Comments |
| Page | 54 | Lines | PurchaseOrderLines |
| Page | 111 | Vendor Posting Groups | vendorPostingGroups |
| Page | 312 | Gen. Business Posting Groups | GenBusinessPostingGroups |
| Page | 110 | Customer Posting Groups | customerPostingGroups |
Current Integration Limitations
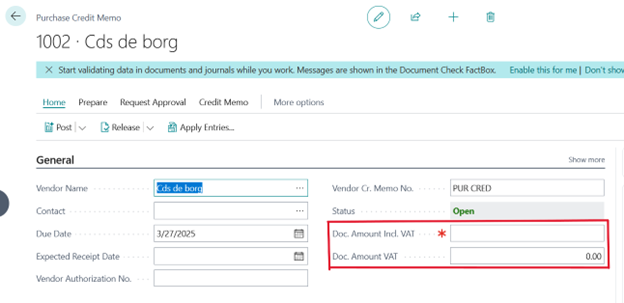
1. Missing Header Amounts
Fields like Doc. Amount Incl. VAT and Doc. Amount VAT are not auto populated when exporting purchase credit invoices from Smartbooqing.
Steps to Address:
- Log in to Business Central.
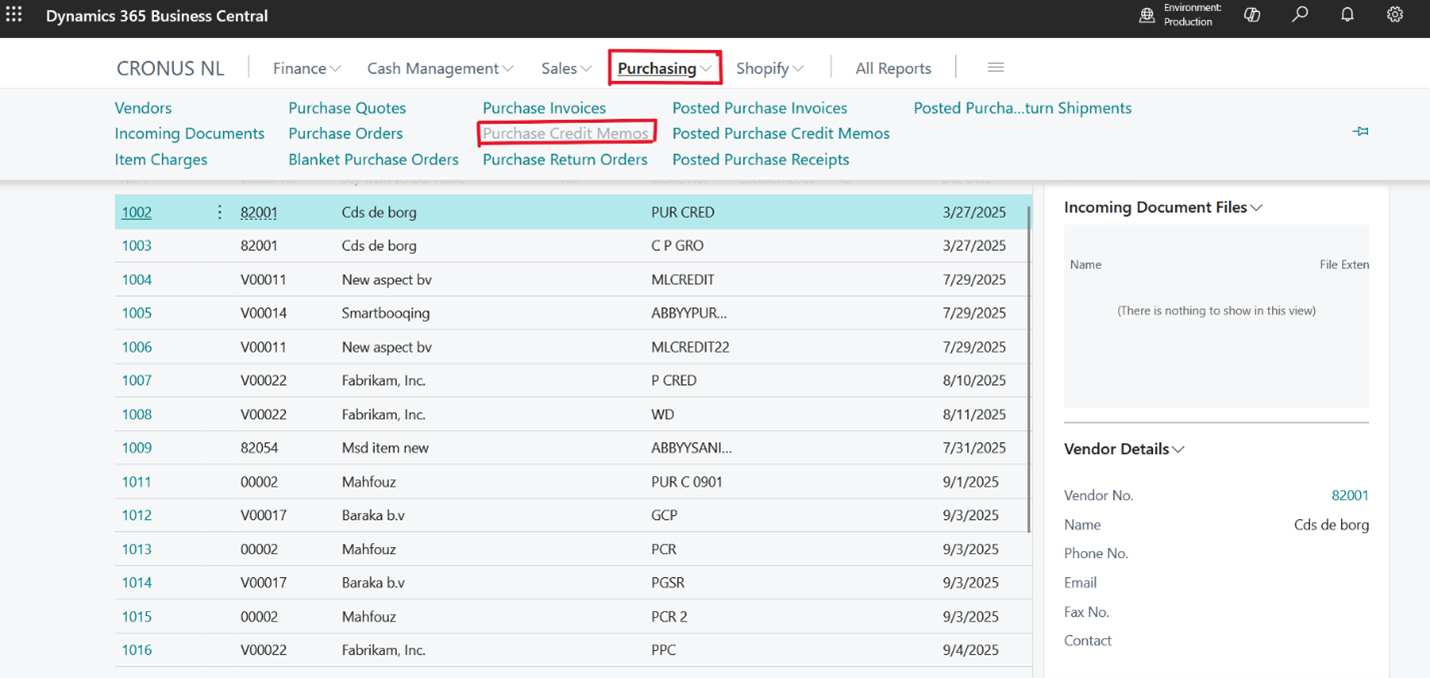
- Navigate to Purchasing > Purchase Credit Memos
- Locate and open the relevant exported invoice.
- Scroll to the Invoice Header section.
- Manually enter the missing values:
Doc. Amount Incl. VAT
Doc. Amount VAT
- Save the invoice.
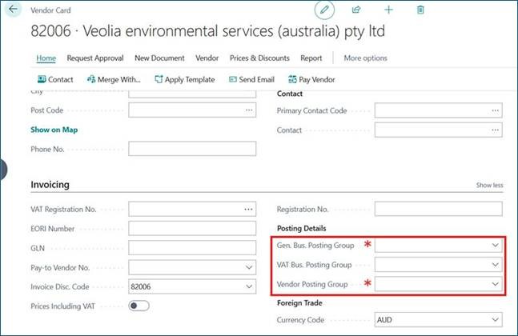
2. Customer/ Vendor Posting Group Missing:
To enable seamless invoice export for newly onboarded customers or vendors, it is imperative to ensure that specific financial posting parameters are accurately configured within Microsoft Dynamics and aligned with Smartbooqing.
The critical parameters that must be consistently defined and mapped include:
- Vendor Posting Group
- VAT Bus. Posting Group
- Gen Bus. Posting Group
These posting group values must be provided to the support team during the setup of a new administration. They are defined within Microsoft Dynamics (navigation paths provided below) and must correspond precisely with the configurations in the Smartbooqing database. Any mismatch can result in failed invoice exports or data synchronization issues.
Steps to Address (Vendor):
- Go to Purchasing > Vendors.
- Select the vendor from the list.
- In the vendor card, locate the Posting Details section.
- Fill in the Vendor Posting Group.
- Save the changes.

Steps to Address (Customer):
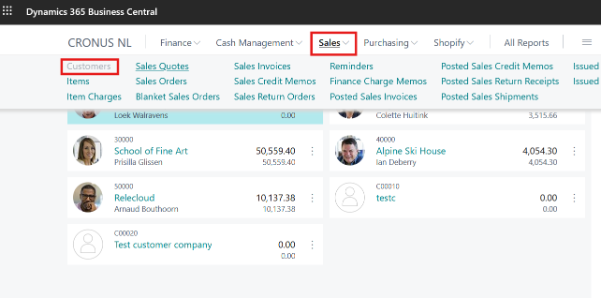
- Go to Sales > Customers.
- Select the customer from the list.
- In the customer card, locate the Posting Details section.
- Fill in the Customer Posting Group.
- Save the changes.

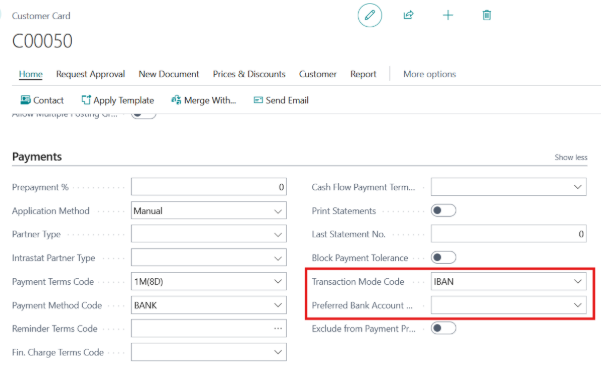
3.Customer Bank Details Not Exported:
Customer bank account information is not exported from Smartbooqing to Business Central.
Steps to Address:
- Go to Sales > Customers.
- Select the customer from the list.
- Open the customer card and scroll to the Payment section.
- Enter the missing Bank Account details.
- Save the record.